spring boot 的搭建相当简单,简化了大量的xml配置,只需要关键配置即可开箱使用。
搭建
什么是 parent 方式?
使用 pom.xml 中的 parent 标签。
官方示例中,都是让我们继承一个 spring 的 spring-boot-starter-parent 这个parent就是:
1
2
3
4
5
6
7
8
9
10
11
12
| <parent>
<groupId>org.springframework.boot</groupId>
<artifactId>spring-boot-starter-parent</artifactId>
<version>1.5.1.RELEASE</version>
</parent>
<dependencies>
<dependency>
<groupId>org.springframework.boot</groupId>
<artifactId>spring-boot-starter-web</artifactId>
</dependency>
</dependencies>
|
一般不使用这种方式,因为实际开发中 parent 是用于继承项目中的根 parent 项目。
学习测试使用这种方式。
如果是JDK7 不需要指定,其他的需要指定。
如果不是使用 tomcat 8.x,则需要指定版本。
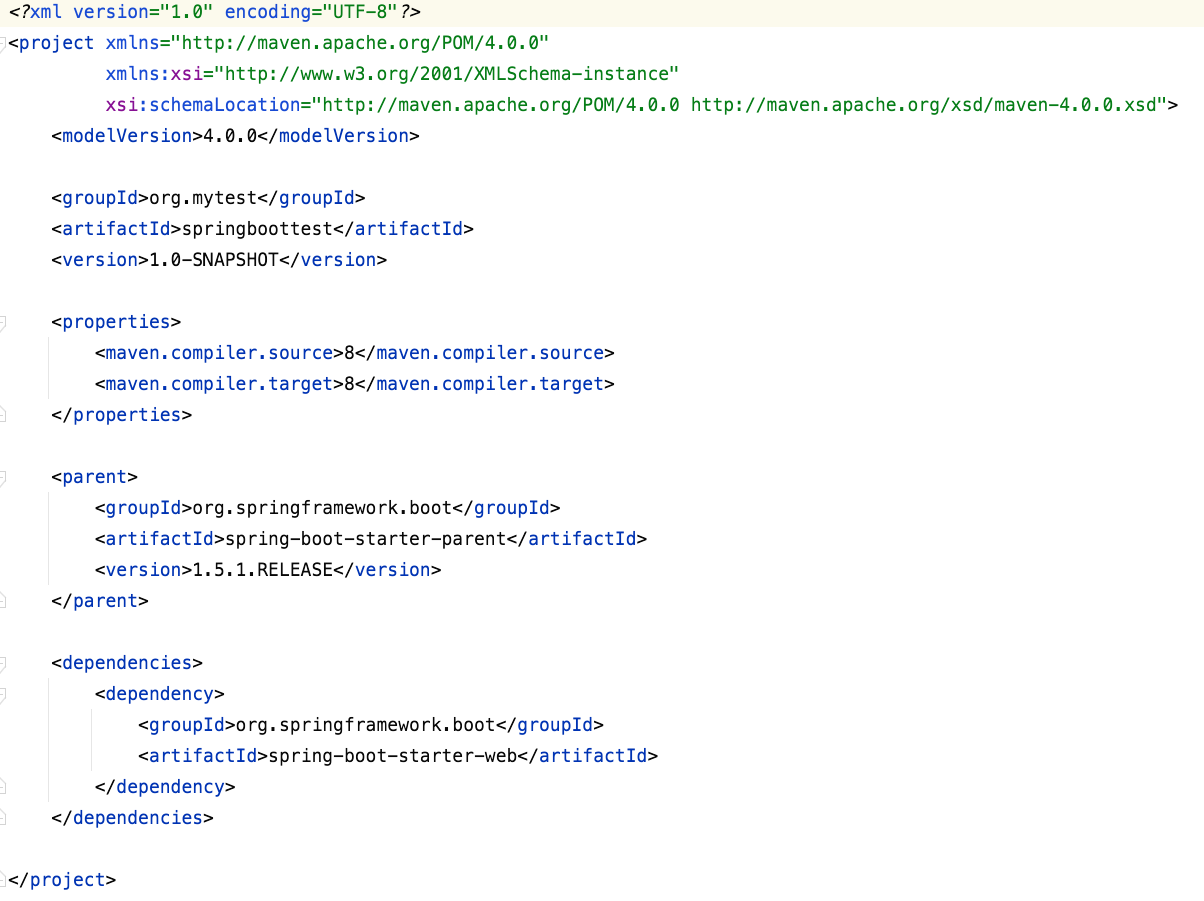
完整示例

1
2
3
4
5
6
7
8
9
10
11
12
13
14
15
16
17
18
19
20
21
22
23
24
25
26
27
28
29
| <?xml version="1.0" encoding="UTF-8"?>
<project xmlns="http://maven.apache.org/POM/4.0.0"
xmlns:xsi="http://www.w3.org/2001/XMLSchema-instance"
xsi:schemaLocation="http://maven.apache.org/POM/4.0.0 http://maven.apache.org/xsd/maven-4.0.0.xsd">
<modelVersion>4.0.0</modelVersion>
<groupId>org.mytest</groupId>
<artifactId>springboottest</artifactId>
<version>1.0-SNAPSHOT</version>
<properties>
<maven.compiler.source>8</maven.compiler.source>
<maven.compiler.target>8</maven.compiler.target>
</properties>
<parent>
   <groupId>org.springframework.boot</groupId>
   <artifactId>spring-boot-starter-parent</artifactId>
   <version>1.5.1.RELEASE</version>
</parent>

<dependencies>
   <dependency>
       <groupId>org.springframework.boot</groupId>
       <artifactId>spring-boot-starter-web</artifactId>
   </dependency>
</dependencies>
</project>
|
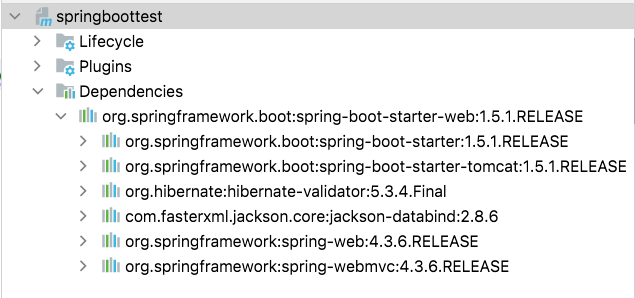
查看一下spring boot的相关依赖

验证
1
2
3
4
5
6
7
8
9
10
11
12
13
14
15
16
17
| package com.test;
import org.springframework.boot.SpringApplication;
import org.springframework.boot.autoconfigure.SpringBootApplication;
import org.springframework.boot.autoconfigure.jdbc.DataSourceAutoConfiguration;
@SpringBootApplication(exclude= {DataSourceAutoConfiguration.class})
public class Application {
public static void main(String[] args) {
SpringApplication.run(Application.class, args);
}
}
|
正常启动

到这基本就完成了一个简单的web服务的构建,也是学习 spring boot 的最简实践。


